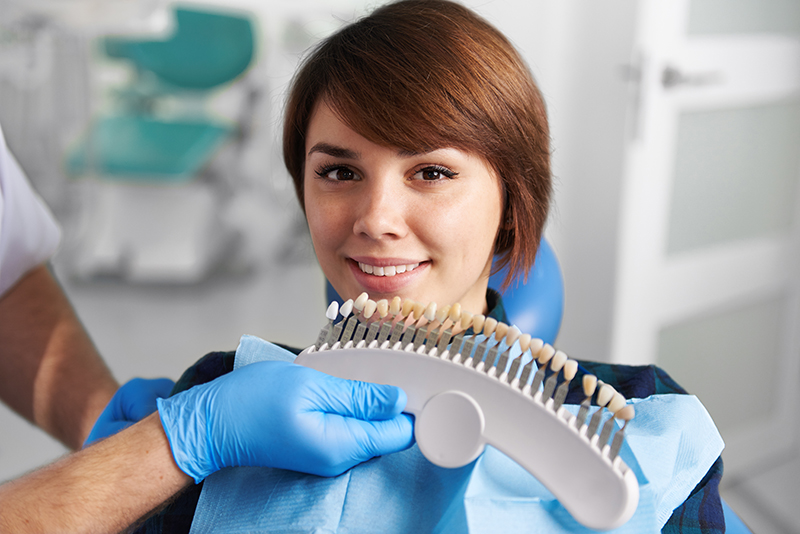
The professional teeth whitening process starts with a consultation with your dentist. Not everyone is a good candidate for teeth whitening, which is why you want to talk to a dentist before you have it done. If you have large fillings or crowns (caps) on your front teeth, teeth bleaching is not a good idea. The chemicals will bleach your natural teeth but not your dental restorations (which are made from ceramic, porcelain or composite material), resulting in your teeth being different colors.
Teeth whitening is most effective on yellow discoloration, and can be less effective on brown or gray discolored teeth, especially when the discoloration is the result of exposure to tetracycline antibiotics while teeth are still developing (before age 8).
Next comes the actual whitening appointment. Once you’re comfortable in the chair, the dentist will insert a lip retractor into your mouth, which is just a plastic guide that moves your lips out of the way so your teeth are easy to access.
The dentist will then cover your gums around your front teeth with a gel and then harden it with a high-powered light. This is called a gingival barrier, and it protects your gums from the teeth bleaching chemicals during the whitening process. The dentist may also apply a compound to your teeth that will help prevent tooth sensitivity.
The actual whitening process involves the dentist applying a gel made of 15% to 35% hydrogen peroxide to your front teeth. Hydrogen peroxide can penetrate the porous outer layer of your teeth and break apart stain compounds using a chemical reaction called oxidation. Depending on the whitening system being used, the application of the whitening gel may be followed by applying a high-powered light that speeds up the whitening process.
Most systems involve multiple applications of the gel throughout the whitening session. The dentist will rinse off the gel and reapply a fresh coat as many times as necessary within the space of about 40 minutes. Once complete, the whitening procedure can achieve four to six shades of whitening after only one session. Some patients experience tooth or gum sensitivity after whitening, but this usually goes away within a day or two.
While the effects of teeth whitening can last quite a while (months to years), depending on diet and other habits (like smoking!), the stains on teeth will eventually return. Some dentists may recommend maintaining a freshly whitened smile with a professional home whitening kit. These kits include custom made trays to fit your teeth and tubes of whitening gel that has a lower concentration of bleaching agents than the in-office variety. The patient lines the trays with the gel and wears them for a few hours at a time each day or while sleeping.
When it comes to teeth whitening, you get what you pay for. While over-the-counter kits from the drugstore are cheap and offer the convenience of at-home bleaching without a visit to the dentist, they are slower and less effective than professional whitenings. And of course, without the supervision of a dentist, you don’t have the guidance you need to get the best results. If you want truly Hollywood-white teeth, invest in a professional teeth whitening administered by your dentist.


